

Earlier today, I saw this picture
here, and I thought, that's so cool! I wanted to do it, so of course I altered the colors to my liking (pink!) and gave it a shot. Here's my little tutorial if you're interested in trying it, too. Let's get started!
What You'll Need:
First off, you're going to need to pick a color scheme. I recommend choosing one color, but if you want to use different colors, than thats totally up to you. When you decide what color you want, in that shade you will need a light base color, a medium color, a dark color, and a sparkle/glitter polish. A base coat and top coat are optional, but they will make your nail art last longer.
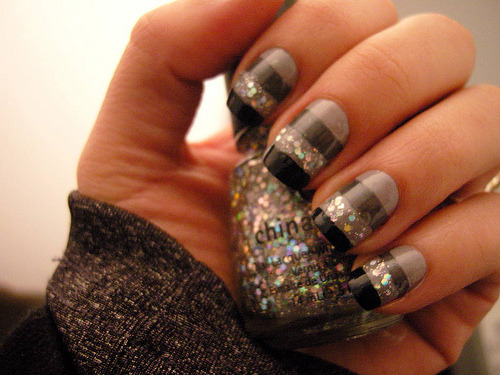
What I used:


From left to right: OPI Pink-ing of You, China Glaze Pink Voltage (Neon), OPI Teenage Dream, Essie Pansy
Step One:
(Optional: Apply a base coat. Let dry before painting over.)
Paint all of your nails the light shade of polish. Since the color is so light, it probably won't go on very opaque. It's okay if it's a little translucent, since you will be painting over 3/4 of it, so just make sure it's visible enough to your liking.

Step Two:
You're going to have to use a little bit of imagination here: imagine your nail in 1/4's, or just imagine how big the first 1/4 would be and paint a stripe across above it. Either way, you're going to take your medium shade and, if the brush is fairly small, simply swipe across. If you're polish has a bigger brush, like OPI, you're going to have to be a little bit more diligent with this and use less polish at a time and build it up. Unlike the first shade, make sure this one is opaque.

Step Three:
This step is a little easier than the previous, because the line is kind of already drawn for you. If you left your initial light polish somewhat translucent, you'll be able to see the nature white stripe at the top of your nail. Using your darkest shade, paint a line along there at the top and make sure it's as thick as your medium-polish line.

Step Four:
Color in between the lines from the two previous steps with your glitter polish. If you're using a skinny brush, this will be no problem. If you were using a chunky OPI brush like me, though, you'll find it's a bit of the issue to color in between the lines. In that case, paint only the center of the line, clean off the brush by swiping it on the edges of your nail polish bottle, and then fill in the rest of the space. (Optional: Apply a single top coat for shine and long-lasting wear.

And voila! You have unique, pretty nails. It may be a bit time consuming, but the outcome is awesome. Here are a few pictures of how my nails came out:


No comments:
Post a Comment